A Very Brief Introduction to the Construction of Shaders
This codex entry functions as documentation and as a reference manual for me when I create shaders. Note that there may be some discrepancies but it still suffices as a resource.
Fundamentals
The goal of the shader construct is to achieve graphical effects such as mesh deformation or recoloring. A shader performs operations first using the positions of all the vertices of a target such as a 3D model or 2D texture and then on the colors of the processed vertices. The portion of the shader that operates on the positions of the vertices is called a vertex shader and the portion of the shader that operates on the colors is called either a fragment shader or a pixel shader.
Shown below is the source code for a vertex shader program.
#ifdef GL_ES
precision mediump float;
#endif

precision highp float;

// Attributes
attribute vec3 position;
attribute vec2 uv;

// Uniforms
uniform mat4 worldViewProjection;

// Varying
varying vec2 vUV;
varying vec3 vPosition;

void main(void) {
    gl_Position = worldViewProjection * vec4(position, 1.0);

    vUV = uv;
    vPosition = position;
}
An initial segment that is C preprocessor-like
As the programming language used to create a shader is a language that is like the C programming language, and like in C, a shader program can be configured with a segment of code located at the beginning of the program. The shader programmer can define constants here like the value of pi.
Mobile devices support
#ifdef GL_ES
precision mediump float;
#endif
The preprocessor directive here instructs the shader program to use a lower precision for floating point values with the condition that the shader program is running on an OpenGL ES device which means OpenGL for mobile devices. This may cause a graphics quality difference between desktop and mobile versions, but this is to be expected as mobile devices often have greater performance constraints than desktop machines.
A paradigm for understanding attributes, uniforms, and varyings
An attribute value can be thought of as literally an attribute of the current vertex, such as a position, namely attribute vec3 position. Note that for the shader that we are using here, the CPU (or more pragmatically, the application that uses or calls the shader program) is supplying information from a 3D model and 2D texture to the shader program.
A uniform value can be thought of as, with the meaning of the word uniform being constant, a value that all the vertices or pixels will share as the value is the same for each vertex or pixel that the shader performs on, such as the current time elapsed since the shader program was started.
And a varying can be thought of as a means to supply information from the vertex shader to the pixel shader, such as, literally, an attribute of the current vertex. The vertex shader will usually just calculate the position of the current vertex that it is performing on and then supply this information to the pixel shader as a varying, which is what this particular vertex shader only does.
attribute vec2 uv;
I don’t know all that is needed to be known about the word UV, but from my Blender model texturing experience and the context, I infer that the uv attribute is a mapping of texture and 3D mesh coordinates. So the vertex shader, especially as the uv attribute value is assigned to the varying vUV variable, passes each different texture-coordinate mapping to the fragment shader so that the fragment shader can operate using the mappings, particularly applying the 2D texture to the 3D mesh.
Calculating the position
The uniform mat4 worldViewProjection variable is a particular value that is the world matrix multiplied by the view matrix multiplied by the projection matrix which will not be discussed here in this documentation entry. The vertex shader calculates and determines the position of the current vertex with the line
gl_Position = worldViewProjection * vec4(position, 1.0);
Accompanying pixel shader
In conjunction with the use of the above vertex shader, here is the accompanying pixel shader.
#ifdef GL_ES
precision mediump float;
#endif

precision highp float;

varying vec2 vUV;
varying vec3 vPosition;

uniform sampler2D textureSampler;
uniform float time;

void main(void) {
    gl_FragColor = texture2D(textureSampler, vUV);
    float distance = length(vPosition.xz - vec2(0.0, 0.0));
    if (distance >= 3.0 && distance <= 3.5) {
        gl_FragColor = vec4(0.0, 1.0, 0.0, 1.0);
    }
}
Selection circle
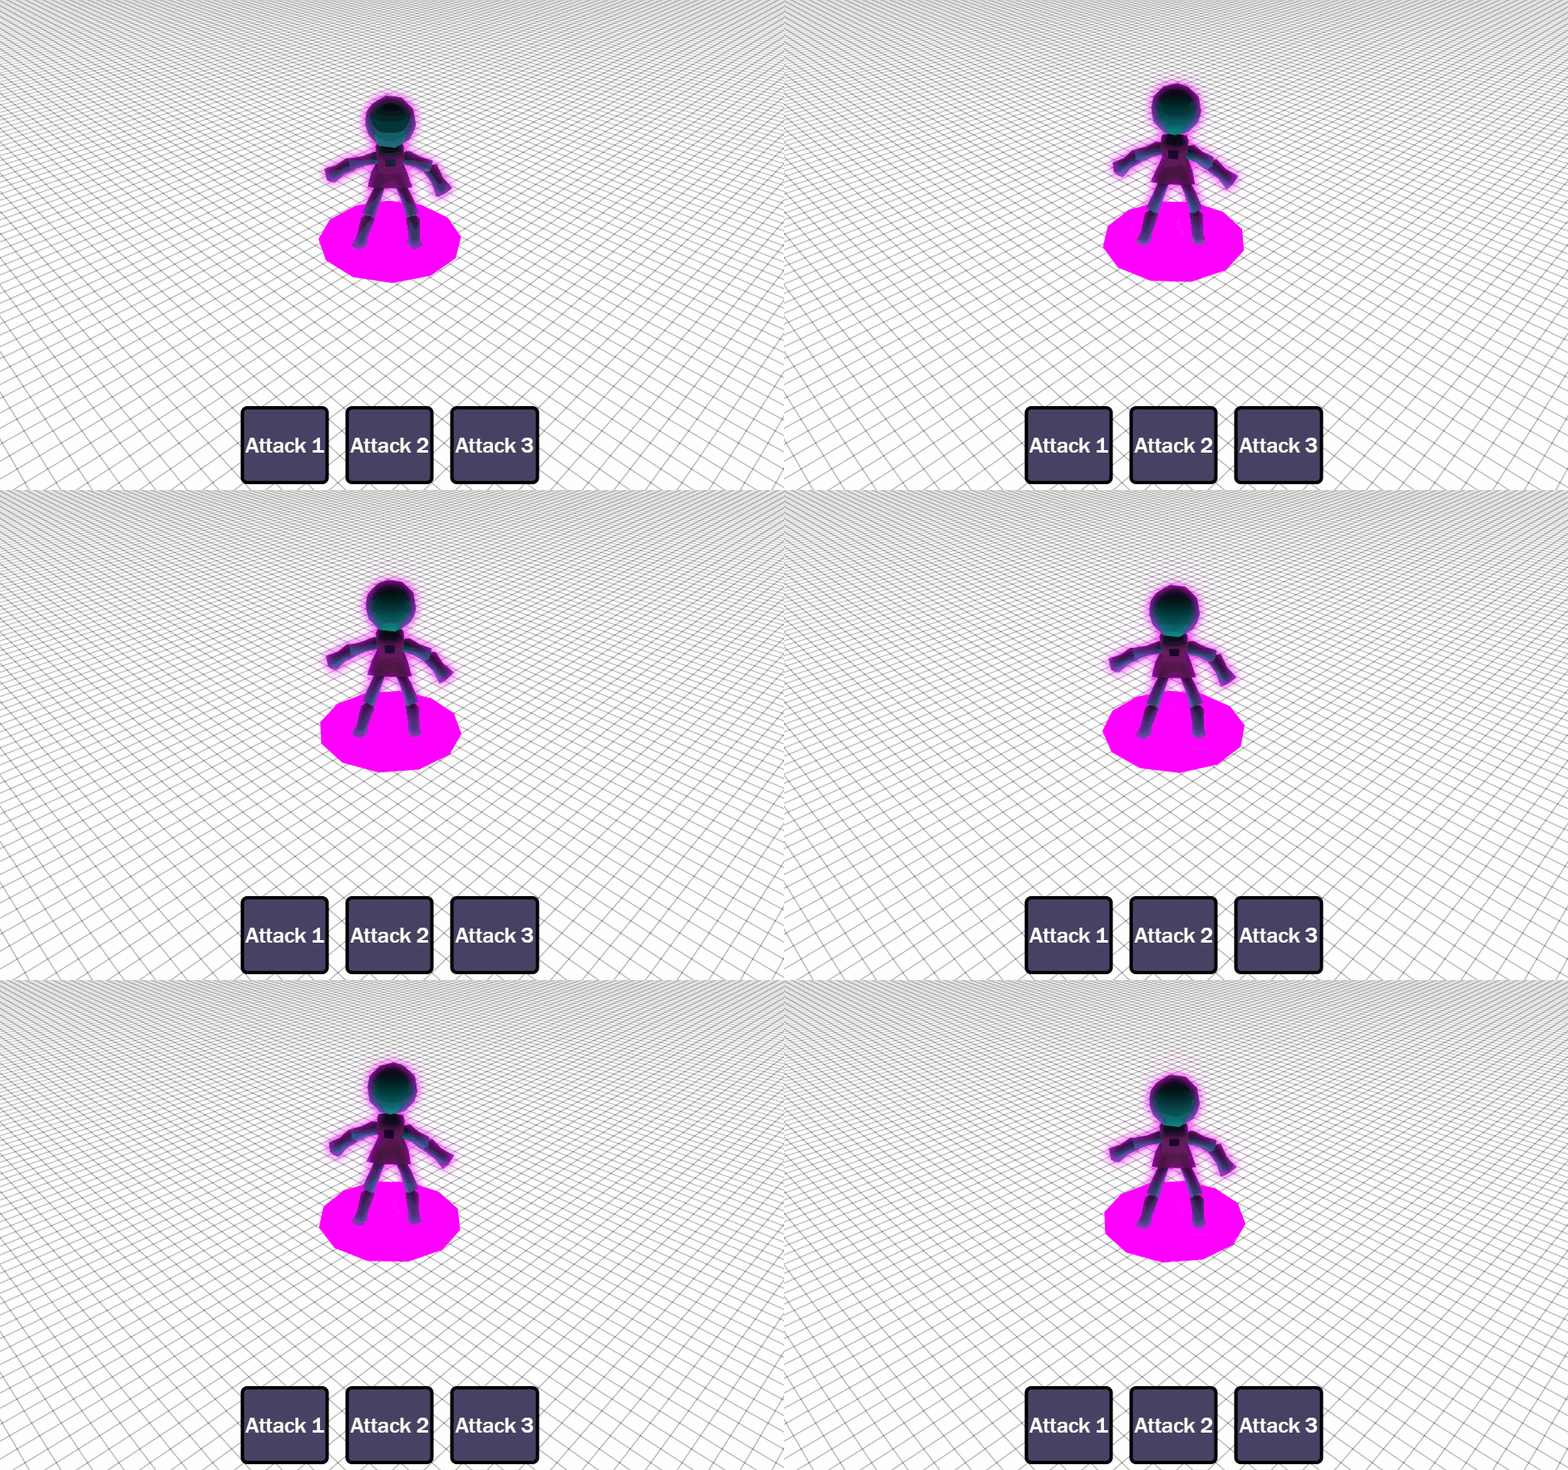
These two shaders are actually used to create a selection circle, a graphical effect where a circle appears around the bottom of a selected 3D model. As an example of what that looks like, my latest game shown below uses a selection circle effect (albeit a shader was not used to achieve it):

The theory for creating a target selection circle was obtained using this resource: link. The goal is to obtain all the verices on a horizontal plane that are of a certain distance from the center of the target and then to color the collected vertices. As a selection ring, the width of the line of the ring must be greater than one pixel so that it may be noticed, which was not specified in the resource.
uniform float time;
The time variable is not used in this shader, but I’m letting it serve here as a reminder that it is provided by the CPU or caller of the shader to tell the shader how much time has elapsed since the shader has started running. It can be a different name like u_time, for example, as shown in the Book of Shaders learning resource.
Applying the texture to the mesh
The vUV model-texture mapping variable that was passed by the vertex shader to the pixel shader for the current portion of the 3D mesh is used to apply the originally intended 2D texture color to the 3D mesh with the line
gl_FragColor = texture2D(textureSampler, vUV);
Creating the selection circle
The length function, as it returns the length of a vector, is used to obtain the distance between the center of the 3D mesh and the current fragment’s position in the x-z plane.
float distance = length(vPosition.xz - vec2(0.0, 0.0));
Then a conditional, if (distance >= 3.0 && distance <= 3.5), is used to determine if the current fragment’s position is of the correct distance to be colored. The shader uses the color green.
gl_FragColor = vec4(0.0, 1.0, 0.0, 1.0);
The result

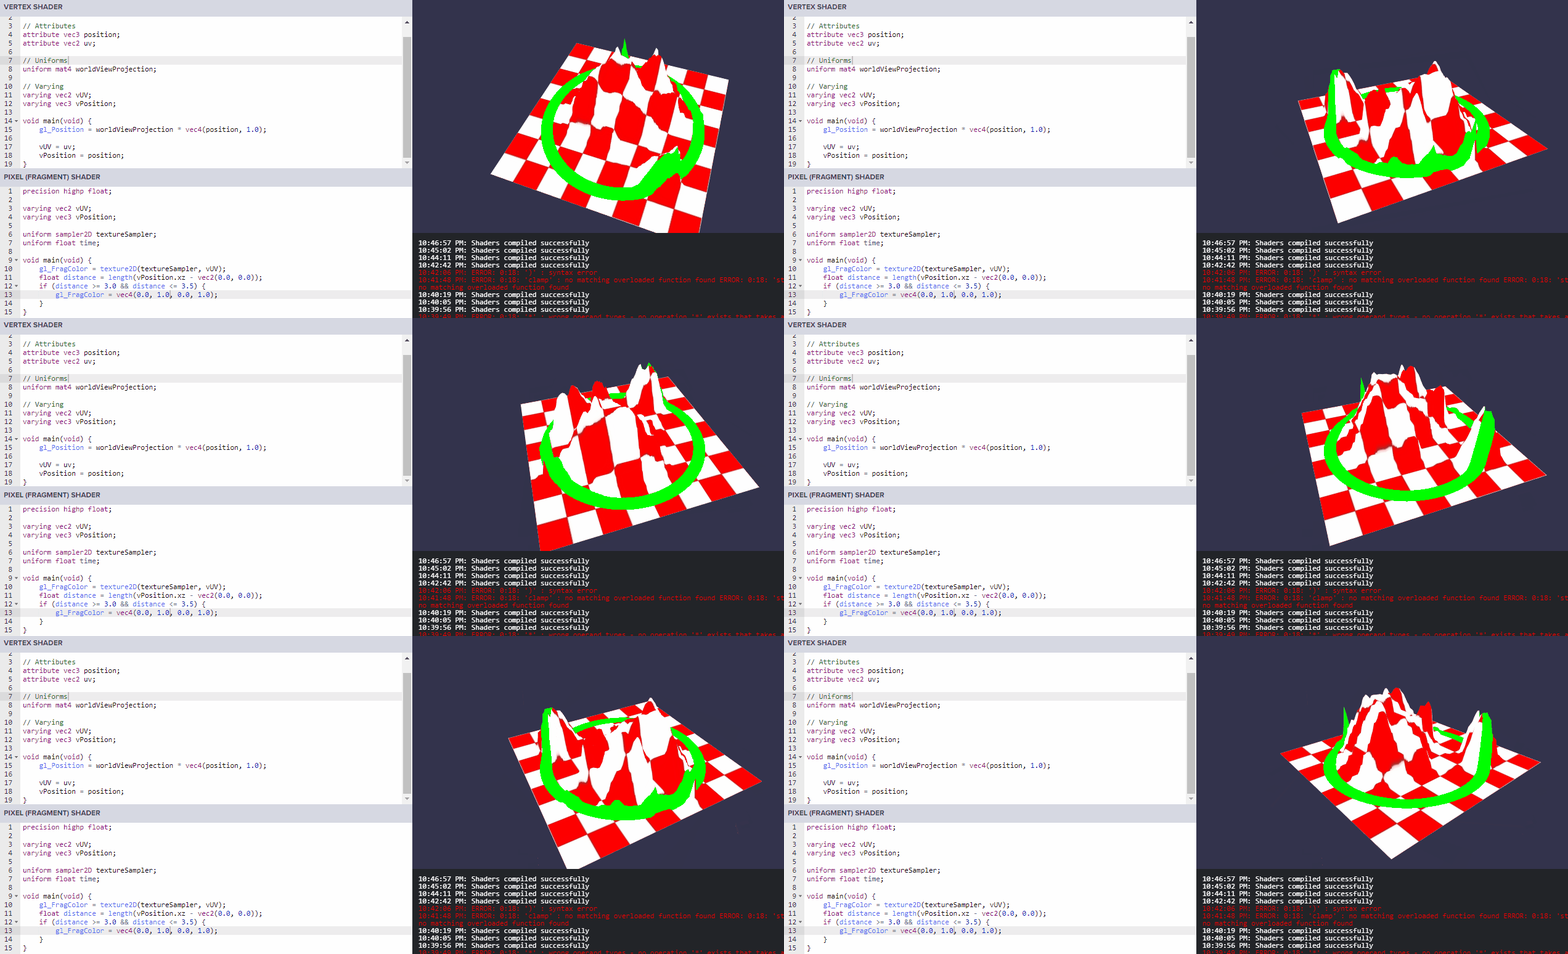
The shader works on terrains with varying heights and it overlays the color onto the terrain as shown with the hill portions being colored.
One negative thing about the use of this shader is that it can show unintended artifacts of its process. For instance, if the model was a 3D cube then it would be clearly noticed. But a ground terrain often doesn’t overlap with itself, so it’s a non-issue.